Documentation
The Ideally Content Management System (CMS) allows users to program content experiences in the Shmap mobile application. These content experiences are triggered by Beacons (Bluetooth Low Energy devices) or by Geofences (using GPS). The below tutorial will teach you how to use the CMS to create contextually-relevant content experiences in the Shmap application.
Intro and Quick-Start

So, you want to create content for the Shmap application, do you? Here's a quick introduction so you understand the basic steps required to create a location trigger (geofence or beacon) and attach content to it. Once you're familiar with the basics, please proceed on to the more detailed documentation below.
Step 1 Create a Location (Beacon or Geofence)
In the Shmap application, a Location is what triggers the delivery of messages/content. Why? Well, Location adds context to a message that otherwise could never exist in standard messaging apps.
Want to send a customer content if they're within a few blocks of your store? Draw a Geofence. Want to send them a message if they're inside your store? Program a Beacon. Either way, you will need to create a Location before designing your content. If you already have a location built in the CMS, then you can skip to Step 2 and create your content!
Step 2 Create Your Content and Assign it to a Location
Content comes in many varieties, as we'll show you in this tutorial. Pages with video, audio, image galleries and more can easily be created using this CMS. What you produce is entirely up to you. But in order to create something memorable - something that consumers will find valuable - always keep in mind Location. Location is the trigger which sends the content to a user's phone, so the most effective content is contextual and relevant to an app user's physical location.
Ready to start creating content? Go the the step-by-step tutorial below!
Step 3 View in the app
If you're in proximity to the Geofence or Beacon that you assigned your content to, then you should receive a notification on your phone (assuming you have the Shmap application installed). Otherwise, you can browse or search for your content in the "Explore" tab of the app.
Beacons
This section details the steps required to add a new Beacon to the CMS. If you aren't using Beacons, you can skip to Geofences or Content Programming.
Step 1 Go to "Beacons"
Step 2 Click the "Add Beacon" button
Step 3 "Add Beacon" Pop-up
All fields are required to be filled in. Below are descriptions to help you understand what each field means:
- App Display Name (aka "Public Name"): This field is visible in the application and should be used to detail the location of the beacon. For example, if you are placing a beacon at the entrance to the Barclays Center, you might enter in this field, "Barclays Center Entrance". Be descriptive but concise.
- Internal Name: The Internal Name is not visible in the app, so you should feel free to create your own naming convention to best keep track of your beacons. An easy way might be a simple numbering system: "Beacon_1," "Beacon_2," and so on.
- ID: Every beacon has a unique identifier called a UUID. This alpha-numeric sequence can usually be found inside the beacon. Open your beacon to see the number (see example here) and type it into the ID field.
- Visibility: Select "Private" (This functionality is currently TBD, but in the coming months we'll be allowing CMS users to make their Beacons and Geofences "Public" so that other users/companies can utilize them.)
- Activate: Check this box.
- Range: Ignore for now - Functionality TBD
- Dwell Time: Ignore for now - Functionality TBD
- Location: Type the address of the beacon's location. Be as specific with your location as you can. e.g. "20 Jay Street Brooklyn, NY 11201" or "Empire State Building, New York, NY". Once you've entered the address in the text field, a map will appear. Click the location of the beacon to drop a pin onto the map. Note: If you drop it in the wrong place, simply click again in whatever spot you want it to be or click the "Clear Map" button to start over. (photo here)
- Tags: Tags are searchable in the CMS, so it's in your best interest to thoughtfully tag your beacons. Location information (not the associated content) makes the most sense. Example: If you have a Beacon placed in Macys' Herald Square Location in New York City, you might want to use the following tags: Macys, Herald Square, NYC, New York, shopping, Manhattan, department store
These tags reference the location, the business and the business type - all potentially important terms you may later want to search for in the CMS.
Video Watch a video of the "Add Beacon" steps
Geofences
This section details the steps required to add a new Geofence to the CMS. If you aren't using Geofences, you can go up to Beacons or straight down to Content Programming.
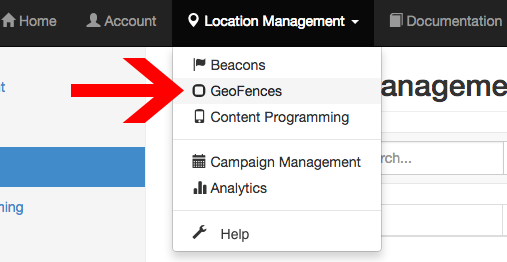
Step 1 Go to "Geofences"
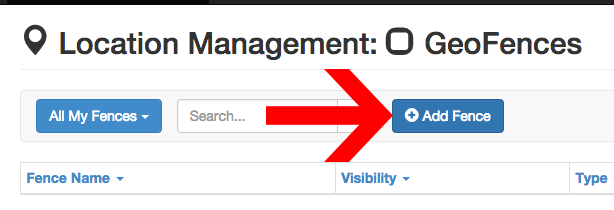
Step 2 Click the "Add Fence" button
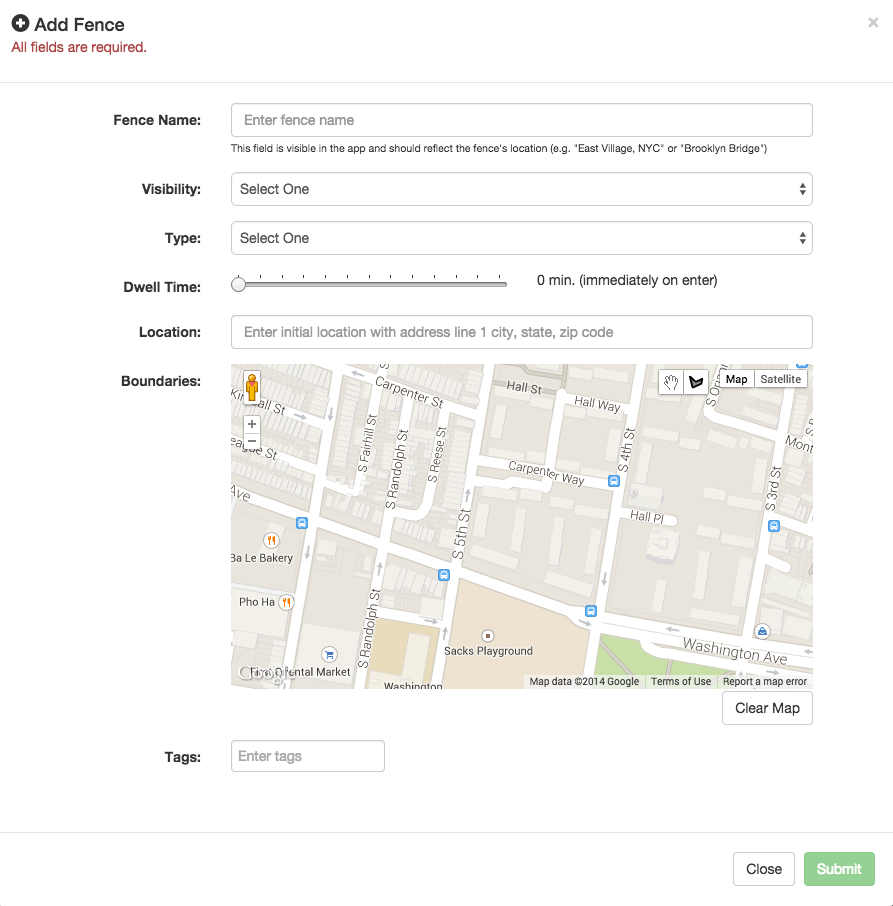
Step 3 "Add Fence" Pop-up
All fields are required to be filled in. Below are descriptions to help you understand what each field means:
- Fence Name: Give the Fence a descriptive, but concise name which relates to the location it is in. Example: "Barclays Center" or "Downtown Portland"
- Visibility: Select "Private" (This functionality is currently TBD, but in the coming months we'll be allowing CMS users to make their Beacons and Geofences "Public" so that other users/companies can utilize them.)
- Type: Select either "Radial" or "Polygon"
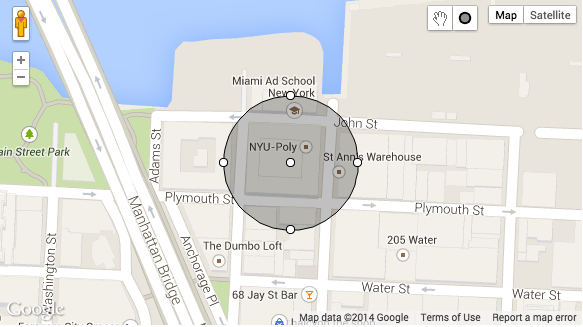
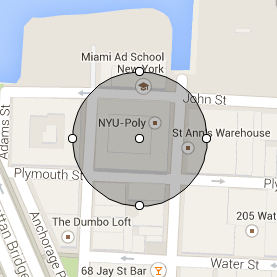
- Radial: A radial geofence is a circle.
- Polygon: A polygon geofence is any enclosed area made up of straight lines (such as a triangle, a square, a rectangle, etc.)
- Dwell Time: Ignore for now - Functionality TBD
- Location: Type the address of the geofence's location. Be as specific as you can. Address should be properly formatted e.g. "20 Jay Street Brooklyn, NY 11201". Once you've entered the address in the text field, a map will appear.
- Boundaries: Based on your selected geofence "Type," you now will draw one of two types of fences:
- Radial Geofence: Click where you want the center of the circle to be and drag the cursor until the circle is the size you desire. See video below for example.
- Polygon Geofence: Click on the map. Move cursor to desired location and click again. Continue this until you end where you began (essentially, creating an enclosed "fence.") See video below for example.
- Tags: Tags are searchable in the CMS, so it's in your best interest to thoughtfully tag your geofences. Tags should reflect the geofence's location. Example: If you have a geofence drawn around the Empire State Building, you might want to use the following tags: Empire State Building, Landmark, tourist, building, NYC, Manhattan, New York City
These tags reference the location, city and other relevant info - all potentially important terms you may later want to search for in the CMS.
Video Drawing a Radial Geofence
Video Drawing a Polygon Geofence
Video Watch a Geofence being created
Content Programming

This section details the steps required to create new content in the CMS. Content is broadly defined in the app as any page created in the CMS which is triggered by a location for display in the app. This content can include the following media types: Image Gallery, YouTube Video, Soundcloud Audio, QR Code, and Text.
Getting Started
Step 1 Go to "Content Programming"
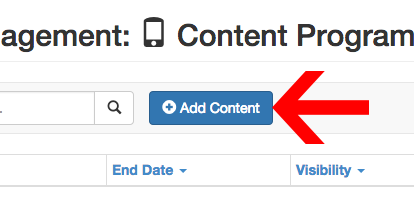
Step 2 Click the "Add Content" button
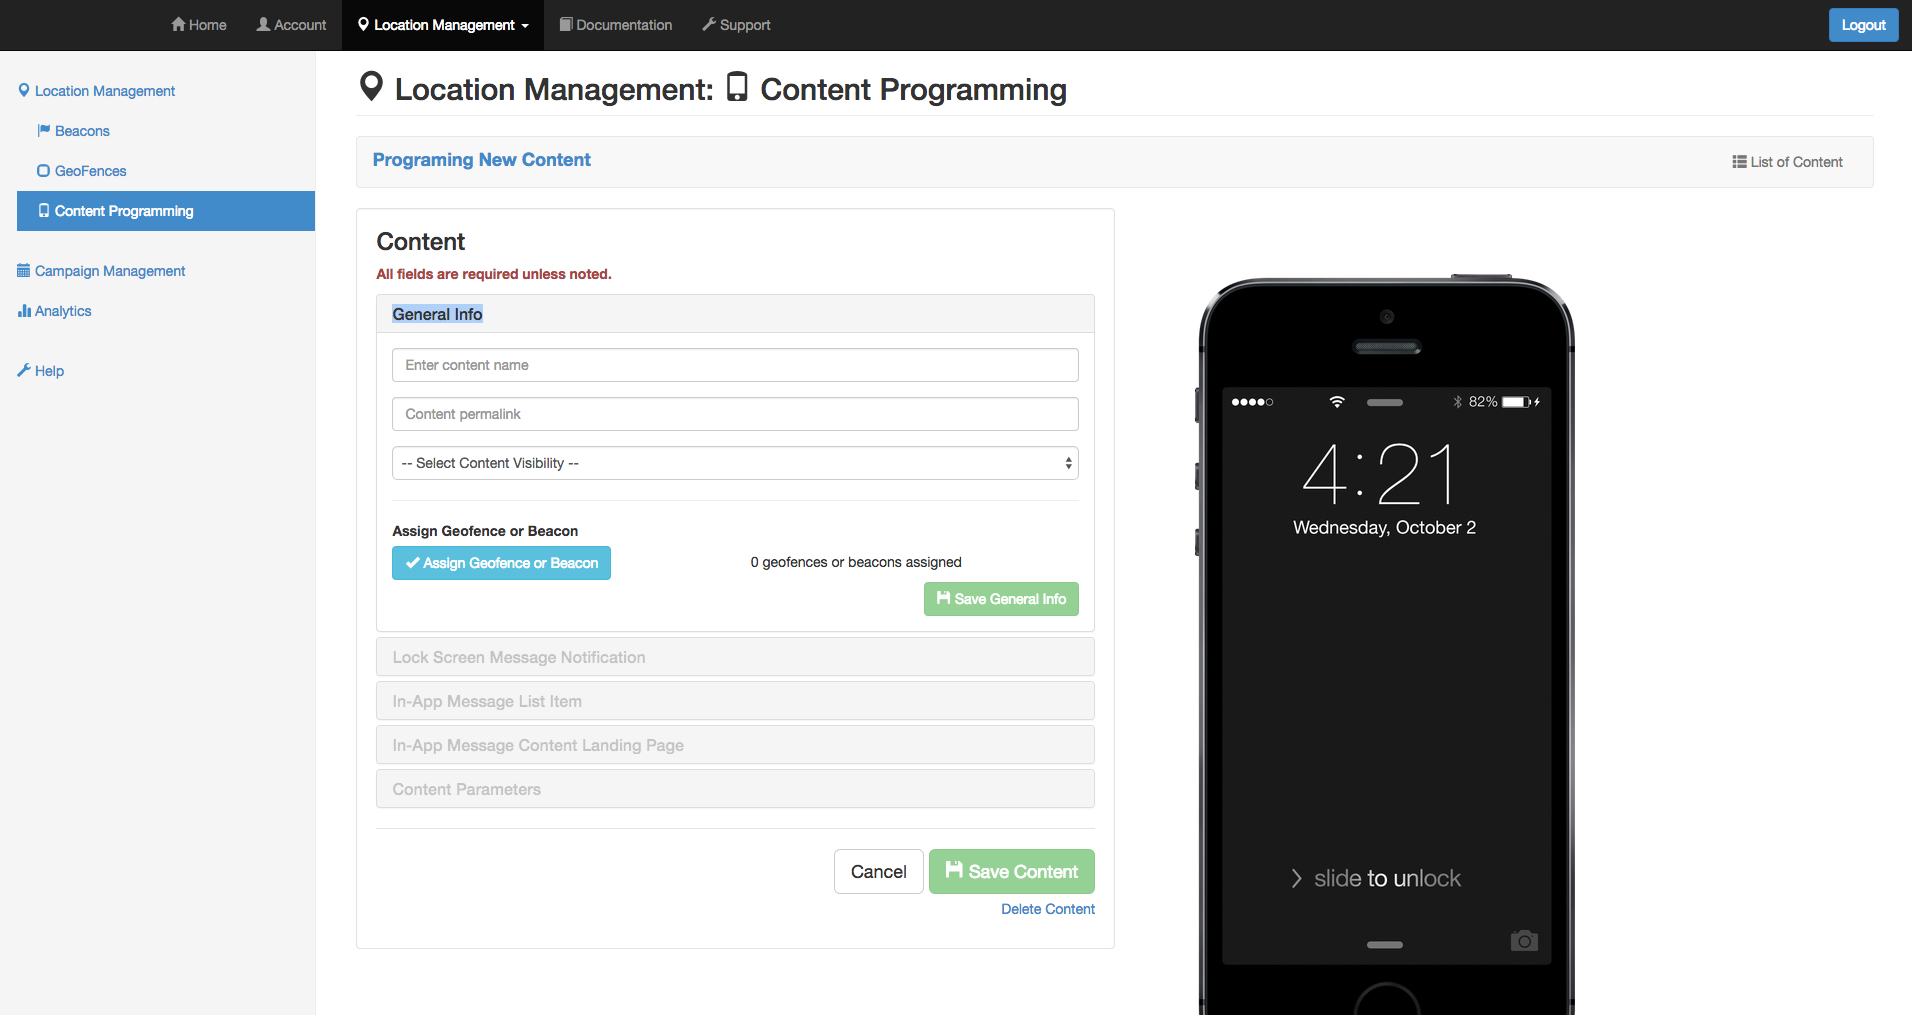
Step 3 Programming New Content
All fields are required unless noted.
Overview:
The Content Programming section provides tools for CMS users to create custom landing pages in the app. The following chapters of this tutorial will provide details on each of the sub-sections of Content Programming.
- General Info
- Lock Screen
- Message Notification
- In-App Message List Item
- In-App Message Content Landing Page
- Content Parameters
General Info
Step 4.0 Overview
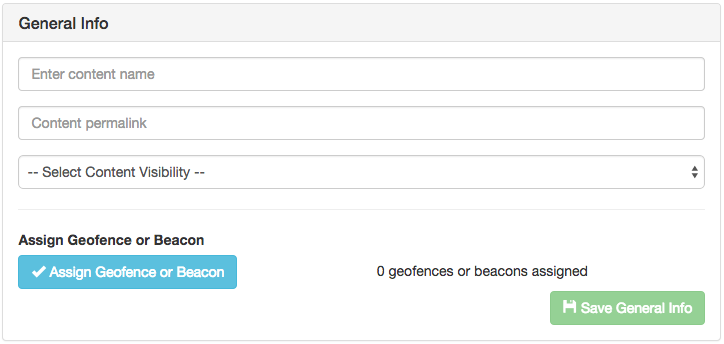
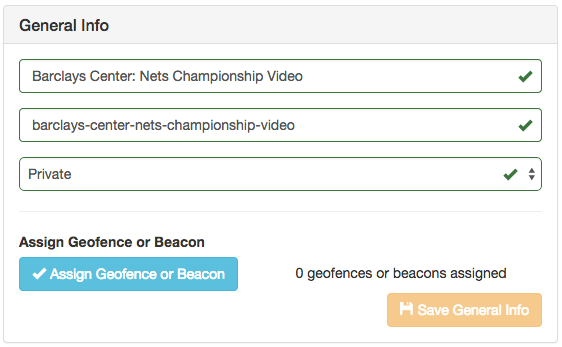
The General Info box is where content is named and assigned to an existing Geofence or Beacon. (If you do not have a specific Geofence or Beacon yet created for this content, you'll need create one.)
- Enter Content Name: This is an internal name for you to keep track of the content. Be as specific as you need to be. It is helpful to have a naming system in place that follows a pattern like: "location: content name" (e.g. "Barclays Center: Nets Championship Video"). There is no right or wrong way to name your content, but it's better to be overly descriptive.
- Content Permalink: This is a unique identifier which will auto-create as you type in the Content Name above it. If you have a duplicate content name, the permalink will auto append a number to ensure it is unique.
- Select Content Visibility: Select "Private"
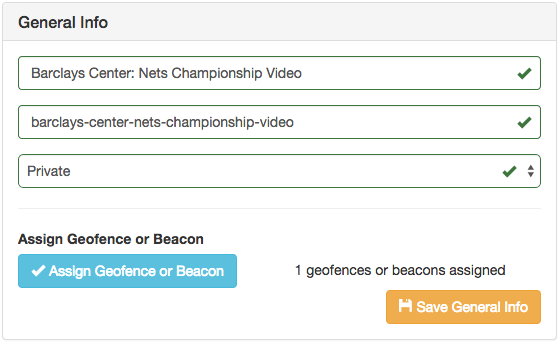
- Assign Geofence or Beacon: Clicking this button will display a pop-up with a table containing all of your Beacons and Geofences. You can assign your content to as many as you want, but be sure that there is a reason for attaching content to particular locations. Remember, the best content is contextual!
- Save General Info: The button will change from light green to light orange once you have begun editing fields in the box. It will then change from light orange to dark orange when you have completed all required fields in the box.
Step 4.1 Name your content and set its visibility
- Name your content.
- The Permalink will auto-complete for you.
- Select "Private" for visibility.
Green checkmarks will appear next to fields that are properly completed/validated.
Step 4.2 Assign Geofence or Beacon to your content
The Assign Geofence or Beacon pop-up is where you select which Location to assign your content to.
Step 4.3 Save General Info
Click the "Save General Info" button to proceed on to the next step.
Video Watch a video of the "General Info" steps
Lock Screen Message Notification
Step 5.0 Enter Notification Text
The "Lock Screen Message Notification" is simply the notification received on a phone when a user encounters a Location Trigger (Beacon or Geofence) which has Content attached to it. Create a short notification that is fun and intriguing to recipients. When a user swipes open the notification, they'll be brought directly to your content in the app.
Video Watch a video of the "Notification Text" step
In-App Message List Item
Step 6.0 Overview
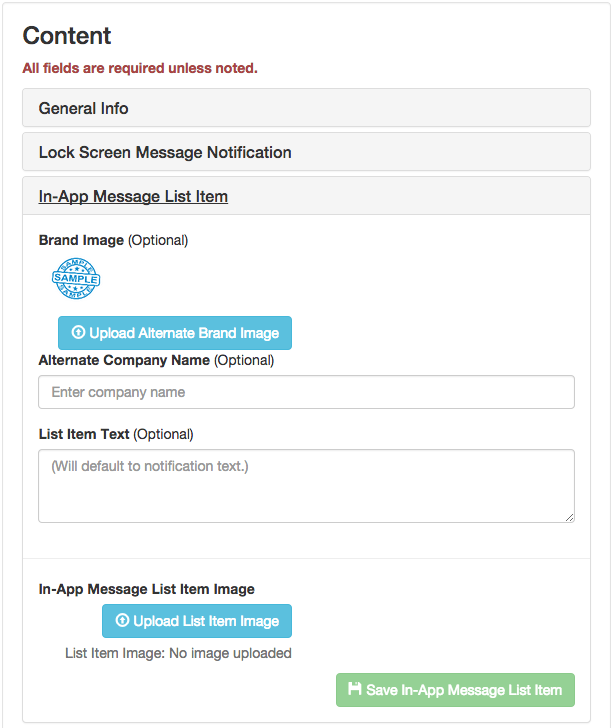
The In-App Message List Item is what appears in the "Explore" feed of the Shmap application. Users will see this only when browsing in "Explore." Think of it as a preview of the content - it's used to grab the app user's attention in the hope that they'll click through to see the full content.
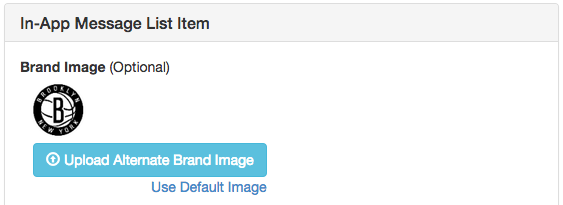
- Brand Image / Upload Alternate Brand Image (Optional): The Company your username is associated with will have a default image available in this field. It is up to you if you want to change it. Why would you want to change it? It depends on your company! If you're Coca-Cola and you're creating content for Diet Coke, you might want to use the Diet Coke logo instead. Again, the choice is yours.
- Alternate Company Name (Optional): Similar to the Brand Image, you can change your company name for individual pieces of content.
- List Item Text (Optional): As you can see on the phone, the default List Item Text will display the same message you created in the "Lock Screen Message Notification". If you want to override it, simply fill in this text field. It should entice app users to want to click in to the content.
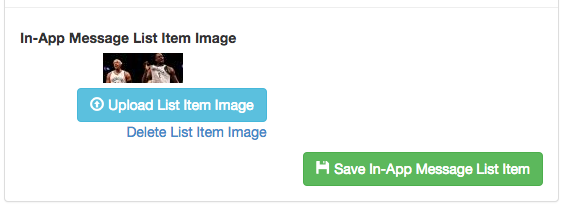
- In-App List Item Image: This image should "sell" your content. It should grab peoples' attention and be visually compelling.
Image Requirements: Should fit an aspect ratio of: 50:19 (or approximately 500px wide x 190px high)
Here is an example of what the In-App Message List Item looks like in the Explore feed of the app.
Step 6.1 Alternate Brand Image
Click the "Upload Alternate Brand Image" button and browse for your image. After uploading it, you will see it appear in the box and on the phone preview to the right.
Step 6.2 Alt. Company Name / List Item Text
If you so choose, you can overwrite the default company name and change the List Item Text.
Step 6.3 List Item Image
Click the button to upload your image. Once uploaded, it will appear in the List Item Image box (see image here) and on the phone preview.
Video Watch a video of the "In-App Message List Item" steps
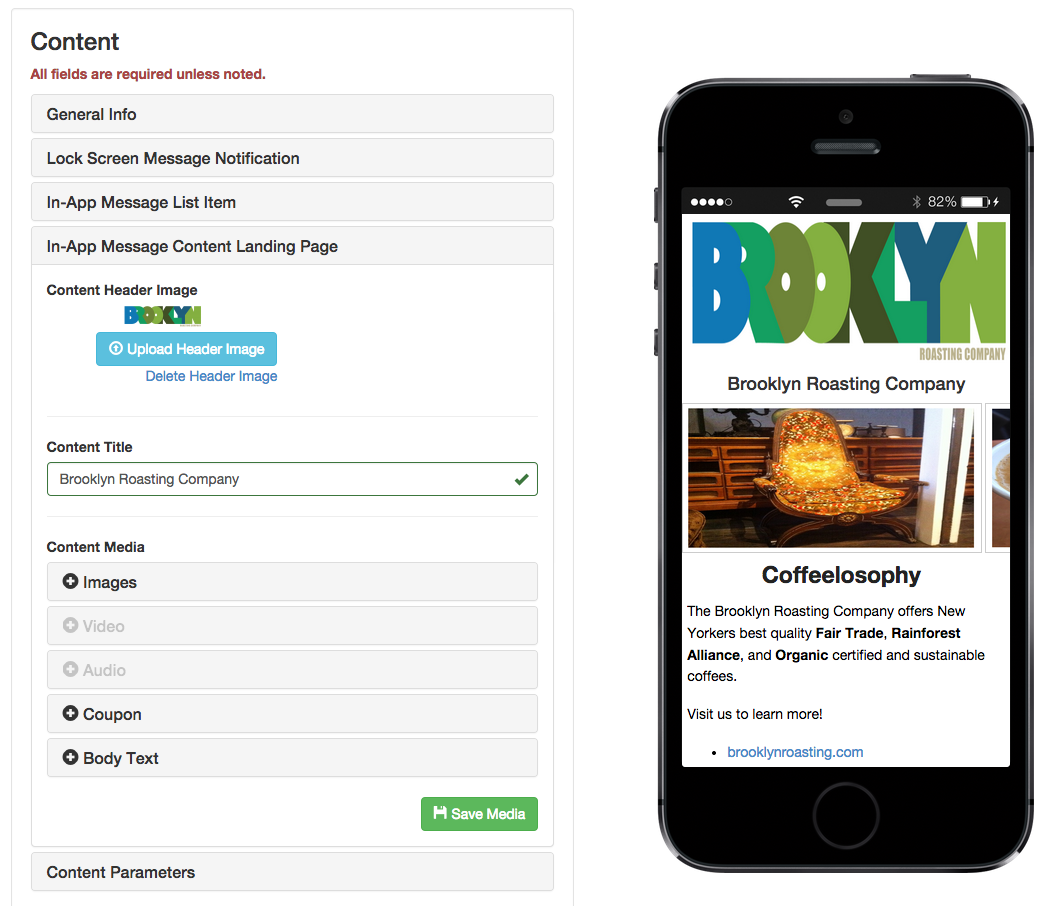
In-App Message Content Landing Page
Step 7.0 Overview
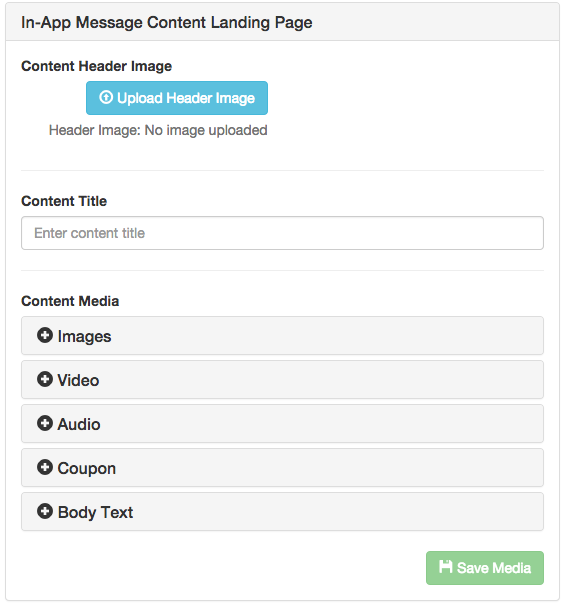
The In-App Message Content Landing Page is where you design the actual content. Please familiarize yourself with the below items for an introduction to the compnent parts of your content.
- Content Header Image: The Header Image displays at the top of the content page. Images of branding are typically the best.
- Content Title: The Content Title will be visible beneath the Header Image in the app. It should concisely give users a quick understanding of the contents of the page (e.g. "Nets Celebrate Championship Win!").
Content Media:
The content media types are described below.
- Images: The "Images" section allows you to easily create an image gallery. Upload several images at once or upload a single image alone. It's up to you.
- Video: Embed a YouTube video in the page by simply copying and pasting the video URL into the box. Simple.
- Audio: Embed Soundcloud audio players in the page simply by copying and pasting their embed code.
- Coupon: Want to create a QR code? We've got that covered. Easily create a QR code in the CMS.
- Body Text: Type in all the copy you desire. Include bulleted lists, links and whatever else you like!
Step 7.1 Content Header Image
The header image appears at the top of the Content. It should contain imagery relevant to your business (i.e. branding/logo) and/or imagery related to the content specifically. Your choice.
If no image is uploaded, the grey text below the upload button reads: "Header Image: No image uploaded"
If an image is uploaded, this grey text will be replaced with a link, "Delete Header Image"
Step 7.2 Content Title
The Content Title is visible on your content page (beneath the header image), so title it appropriately!
Video Watch a video of the "Header Image" and "Content Title" steps
Step 7.3 Content Media: Images
Note that you can upload as many or as few images as you like. Upload an incorrect image? No problem. Click the Delete button.
Video Watch a video of an Image Gallery being created
Note: This video also shows "Body Text" being added to the page. This is optional, of course.
Step 7.4 Content Media: Video
To add a YouTube video to your Content, simply copy the URL and paste it into the field. You don't even need the embed code. We make it easy.
Video Watch a video of a YouTube video being added to the page
Step 7.5 Content Media: Audio
To add SoundCloud audio to your page, browse to the embed code of the song you want and paste into the Audio field.
Video Watch a video of SoundCloud audio being added to the page
Step 7.6 Content Media: Coupon
The Ideally CMS has a built-in QR code generator which allows you to create Coupon-like experiences. To create the QR code, simply type whatever you want the QR code to direct to. If it's text, then type your text and your QR code reader will render it. If it's a URL, then paste your URL in the field. It's entirely up to you.
Video Watch a video of QR Code being added to the page
Note that the Coupon/QR can be added in addition to any other Content Media types you like. This video shows it being created alongside Body Text.
Step 7.7 Content Media: Body Text
Body Text can be formatted in a variety of ways. Use the built-in tools to lay your text out as you please. The video here shows a few of the various options including text positioning and hyperlinking.
Video Watch a video of "Body Text" being added and formatted.
Content Parameters
Step 8.0 Overview
Here is a brief overview of the Content Parameters components.
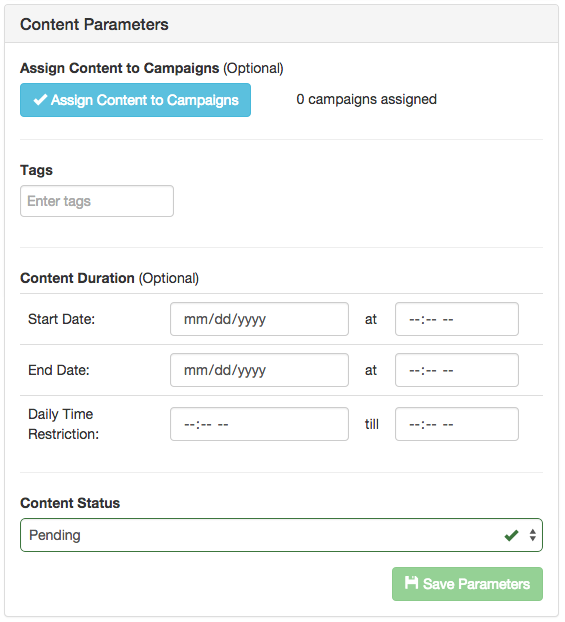
- Assign Content to Campaigns (Optional): This option allows you to assign individual pieces of content to "Campaigns" (i.e. groups of related content). This functionality is still under construction, so this option may or may not be visible in the CMS.
- Tags: Just like prior sections of the CMS, tags are also used on Content. We strongly recommend tagging your content accurately, as it will not only help users of the CMS, but will contribute to building an understanding of what your customers are interested in based on their engagement with certain content. Keep this in mind as you tag!
- Content Duration (Optional): Content Duration allows you to set date and time parameters on specific content. This is a very powerful marketing tool, as you'll be able to restrict visibility of specific content so that it coincides with real world activity (such as happy hours, sales, holidays, etc.) See below for full details.
- Content Status: Content can be assigned a few different statuses based on where it stands in the production and approval processes. See below for full details.
Step 8.1 Assign Content to Campaigns (Optional)
If you have created any campaigns that you want to assign a piece of content to, this is where you do it. Early versions of the CMS may not include this functionality, so if it's missing, it is likely still under construction.
Step 8.2 Tags
Tag your content in such a way that you account for all likely search terms. If your content is for the Brooklyn Nets, for example, your tags might be: sports, basketball, NBA, New York City, Brooklyn, Barclays Center, Jay Z
Step 8.3 Content Duration
Some content is only suitable during specific days or time periods. For example, if you have content related to the Macys Thanksgiving Day Parade, you wouldn't want people to interact with it except around Thanksgiving time. Thus, Ideally's CMS provides functionality that allows for content to only be discoverable in the app during specific days and times if you wish. Here's how it works:
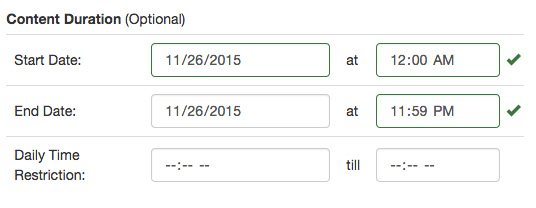
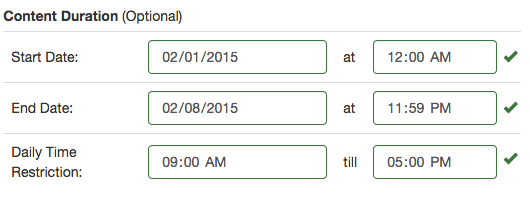
- Start Date: This date indicates the day and time you want the content to first be "active." Let's say you want to create content for Thanksgiving day (and only Thanksgiving day!) The first field (mm/dd/yyyy) would be: 11/26/2015. The second field (HH:MM AM/PM) would be: 12:00 AM. This way, the content will become active (and discoverable in the app) exactly at midnight on Thanksgiving Day.
- End Date: This is the day and time you want the content to cease being active and discoverable in the app. To carry on our example from before, if you want to have your Thanksgiving content become inactive at the end of the day, your fields would be: 11/26/2015 and 11:59 PM.
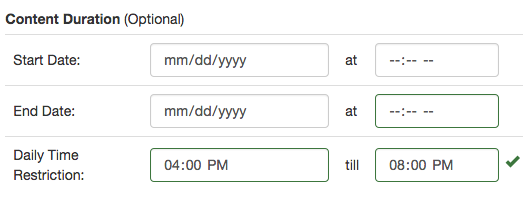
- Daily Time Restriction: This allows you to even further fine-tune your Content Duration settings by giving you the option to make content available during specific times every day. One example might be a bar which only wants to show a piece of content (maybe a coupon) during happy hour. In this case, they could set the first field to 4:00 PM and the second field to 8:00 PM. Thus, the content would be visible only between 4 and 8 PM.
Note: The Daily Time Restriction can either be used independently of the "Start" and "End" dates or in addition to them. (See screenshots for examples.) If you opt to only use the Daily Time Restriction, then it will apply to the content every day until it is manually made inactive in the CMS.
Video Watch a video of the optional fields, "Content Duration," being added.
Step 8.4 Content Status
There will be three available statuses visible for CMS Managers: "Pending," "Awaiting Approval" and "Approved." (Note that some login permissions won't grant all rights and you may not see "Approved" as an option. Please speak to your manager if this is the case or reach out to Ideally directly with questions.)
In short, if your content is ready to be live in the Shmap app, set the Status to "Approved"!
- Pending: This status is the default setting when content is first being worked on. It simply means it is still under construction. This content is not live in the app.
- Awaiting Approval: If you are assigned to create content, but cannot (or should not) approve it, then this status is available as a way of flagging content that is ready for internal approval.
- Approved: This status will "activate" content so that it is available in the app. "Approved" content is discoverable by users of the app in the "Explore" feed and if they come in proximity of the location it's assigned to.
- Rejected: This deactivates content. "Rejected" is an option visible in this dropdown only after it has been set to "Approved."
